How garage floor epoxy is applied
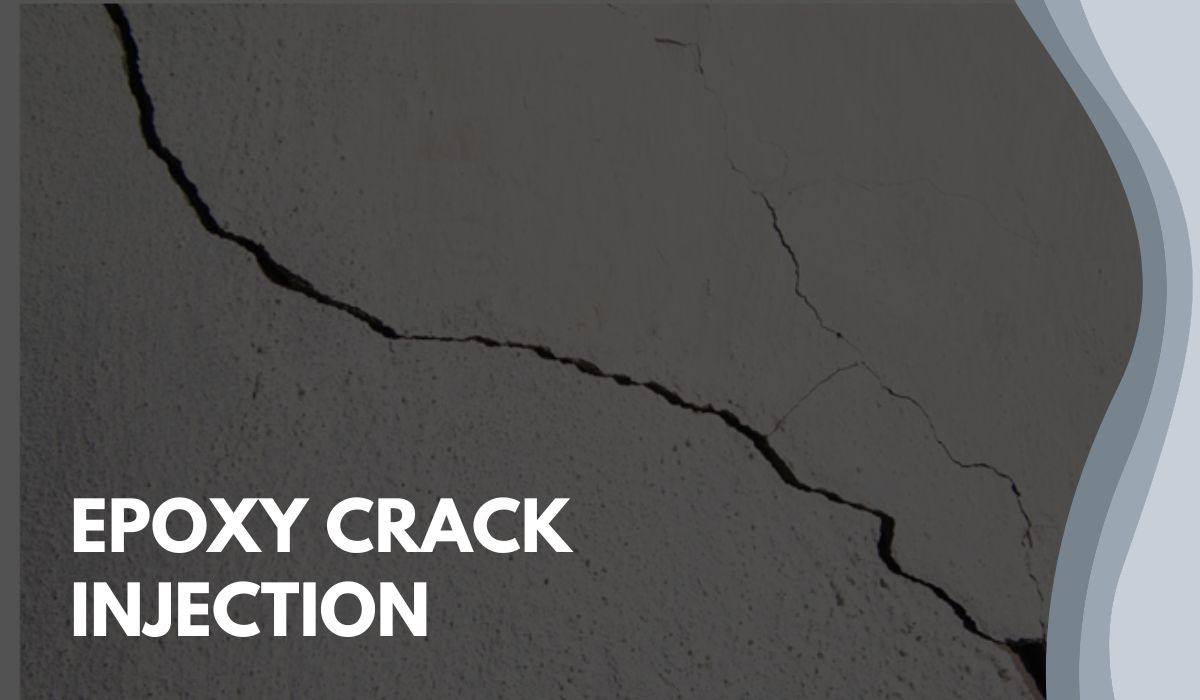
Epoxy garage floors require good floor preparation which is critical for a successful coating. This usually involves some form of either floor grinding, shot blasting or acid etching of the floor to profile the concrete for the epoxy. It’s very critical that it is done right or the epoxy coating will not adhere properly. Patching or repairing any cracks or other damage to the concrete before the epoxy is applied is required as well.
Quality epoxy floor systems usually involve multiple coats to insure a very tough and resistant coating that will last for years. Many times this will involve an epoxy primer which is applied first.
primer is what binds to the concrete to provide adhesion for the subsequent layers and provide for a higher build. Some primers will also act as a moisture barrier for those cement floors that are somewhat susceptible to moisture vapor that moves up from the soil through the concrete to the surface.
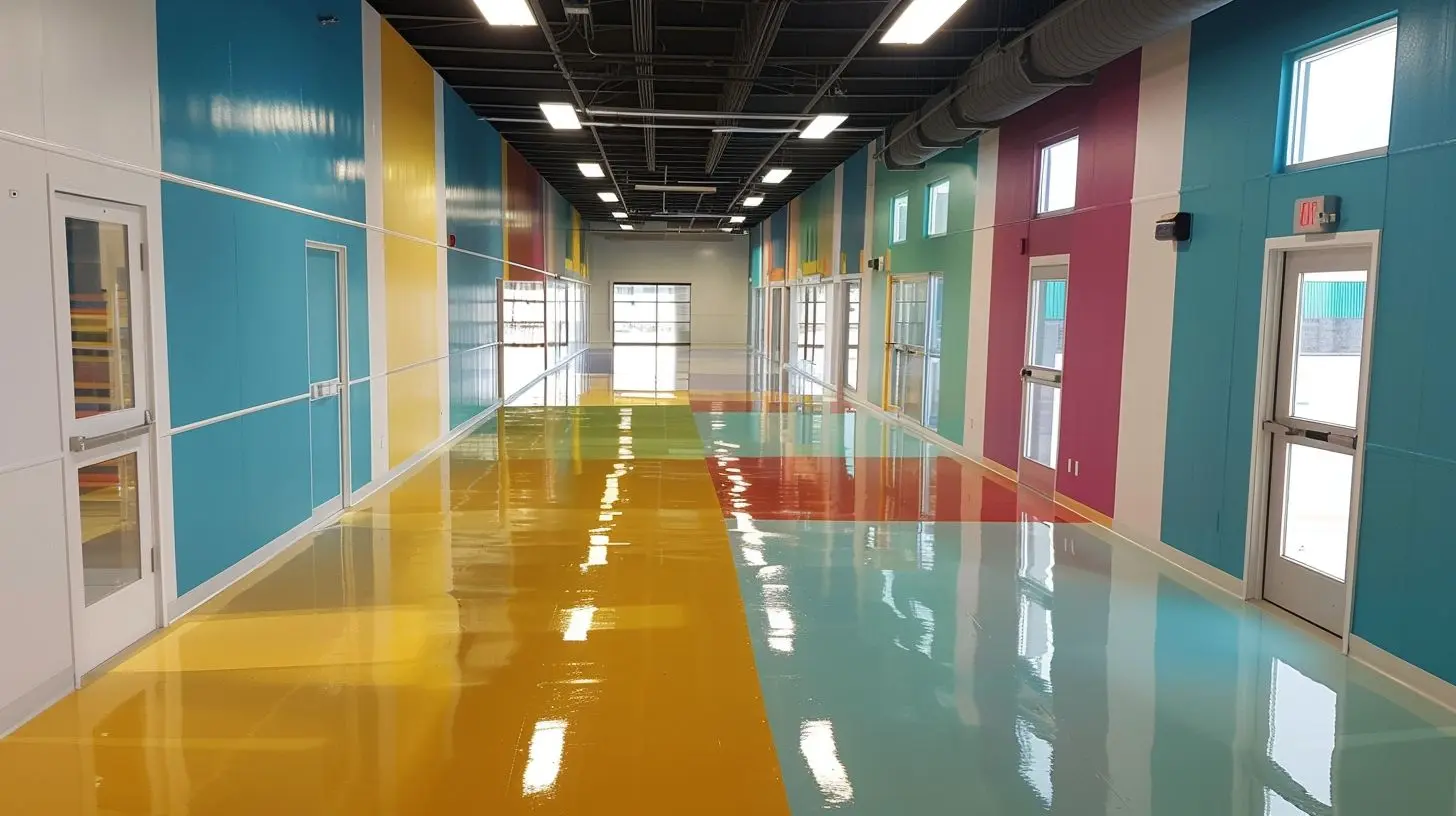
The next coat is the color coat or base coat. This may sometimes be applied without primer depending on the manufacturer’s recommendations. This coat will also receive the application of colored acrylic paint chips to add density and texture if so desired. The final coat is the clear top coat. This is what gives the finish that glossy look and depth that these floors are known for.
One option would be a system that includes a polyurethane top coat. Epoxy will yellow or amber as the industry calls it when exposed to sunlight over a period of time. Polyurethane is a two part polymer that hardens just like epoxy and is used as a sealer and protectant. When used in the color coat and top coat with epoxy, it will resist the yellowing effect that happens when exposed to sun.


Awesome article! Very helpful, thanks for this post.