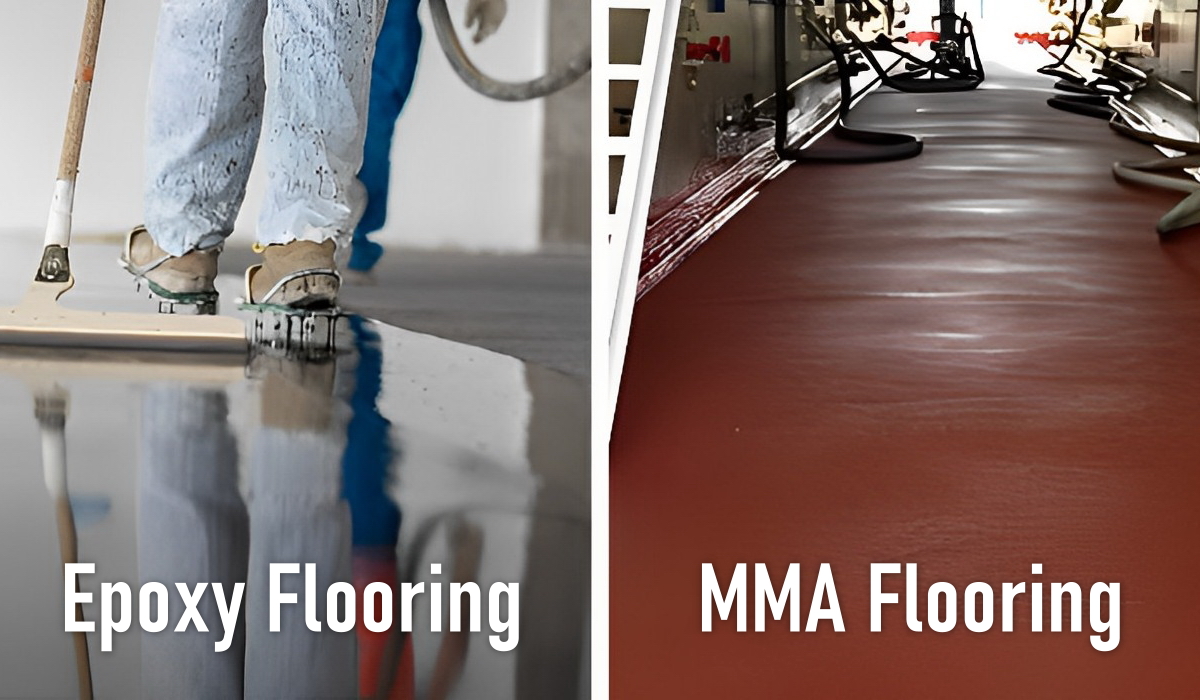
 Sunrooms, basements, garages, and showrooms usually have concrete floors that have an epoxy coating which enhances their decorative feature. Epoxy flooring also has other benefits like anti-slip, resistant to flames and water, and it can also enhance the brightness of a room. If you want to install this type of flooring in your building, here is an easy do-it-yourself installation guide you can follow.
Top 7 Epoxy Flooring Installation Guide Tips
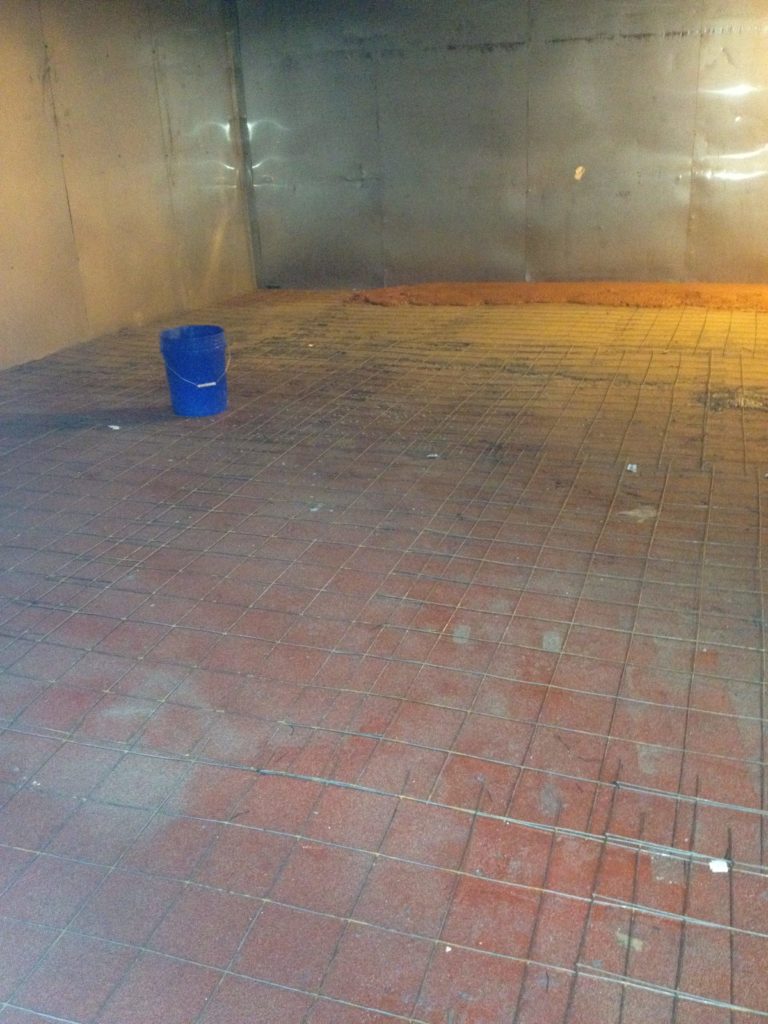
Floors Should Be Prepared
To install epoxy floor coating, you will need to prepare the surface of the room first. There are two suitable methods to do that, which are diamond-grinding and sanding. You can use a floor grinder that can polish concrete floors. For surfaces that are contaminated with any kind of liquid, you may need to apply chemical cleaning in order to remove the stains.
Remove Dust Particles
After grinding the surface, you will need to remove all of the dust that the floor grinder created. Sweep up the floor to gather most of the dirt and clear it away from the area. To extract the small dust particles remaining on the prepared ground, you will need to use an industrial vacuum. This must be done in order to apply less primer. If you leave a lot of particles on the surface, it will be trapped within the epoxy coat and will have less durability.
Apply Epoxy Primer
After removing most of the dust particles, it is time to prime the floor with the suggested epoxy primer from your supplier. It is highly recommended to administer this step because it can give your surface a longer life. It can give better adhesion to the main layer, which is the epoxy coating. The substrate will be sealed with priming, which results in the elimination of unnecessary gasses and bubbles.
Before applying the epoxy primer, make sure the room is well ventilated. To properly seal the surface, always coat two layers of the product. An electrical mixer is recommended in order to mix the two components of the application well.
How’s this installation guide for epoxy floors so far for ya?!
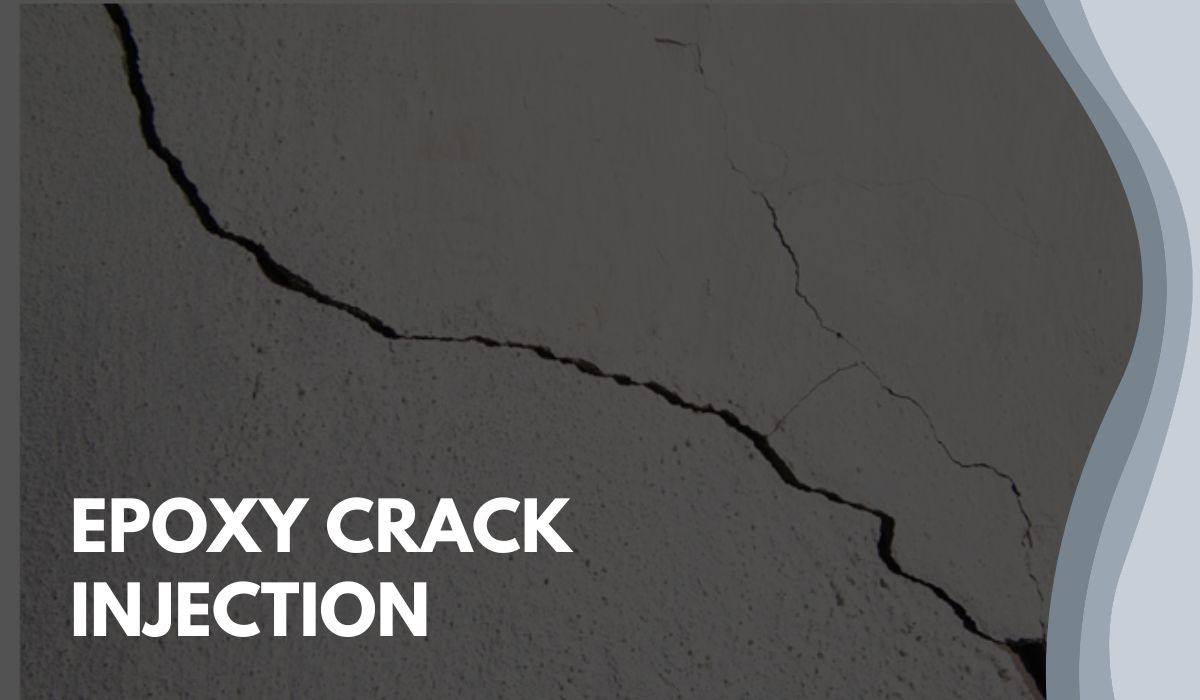
Apply Epoxy Grout for Cracks and Holes
Surfaces with imperfections like cracks or holes should be filled with epoxy grout. Thin cracks may need to be sliced with the proper tool like a diamond cutter before filling it in with the product. This will improve the anchoring of the grout during application.
First Coat Mixing
All hardener contents should be emptied into an electric mixer and mixed for at least two minutes. Remember to mix the components properly because the result will define its durability. Weak and tacky coatings are the product of a poor fusion of contents.
Use a Roller for Product Application
To apply the epoxy coating on your floor, you should use a good quality roller that can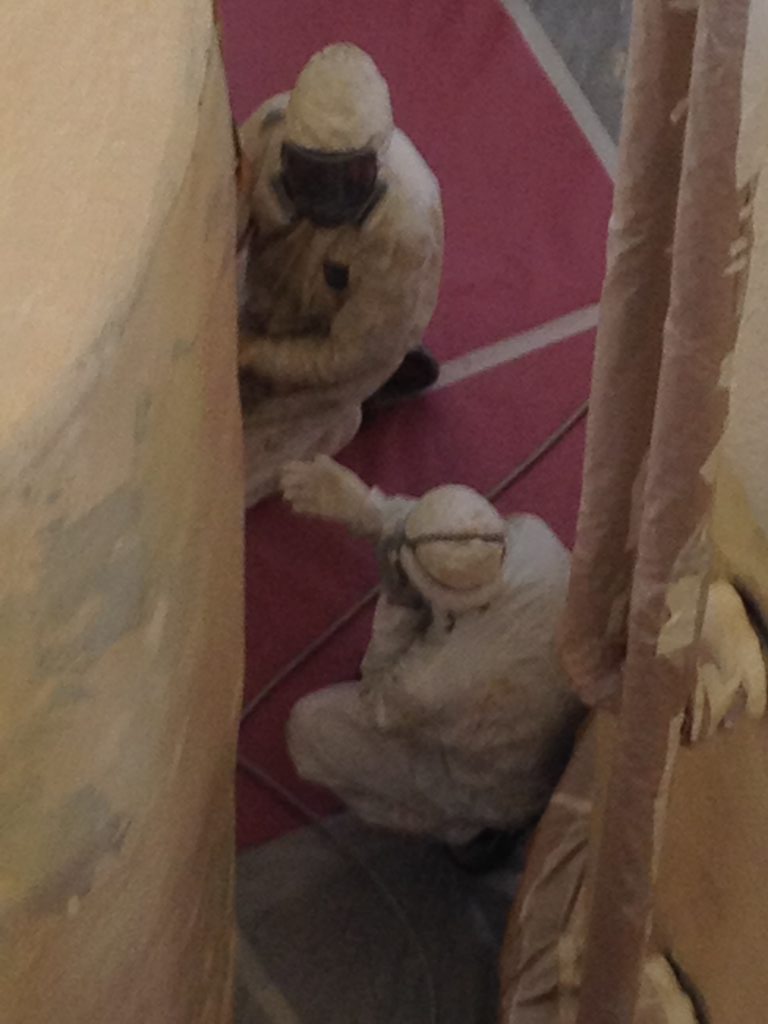 last a long time. Poor quality ones tend to shed, which could damage the application. Re-coat the ground after 24 hours. If you see any cracks or holes after the first process, seal them up with the proper materials before the next coat. Surfaces that look uneven should be sanded first with the right tool.
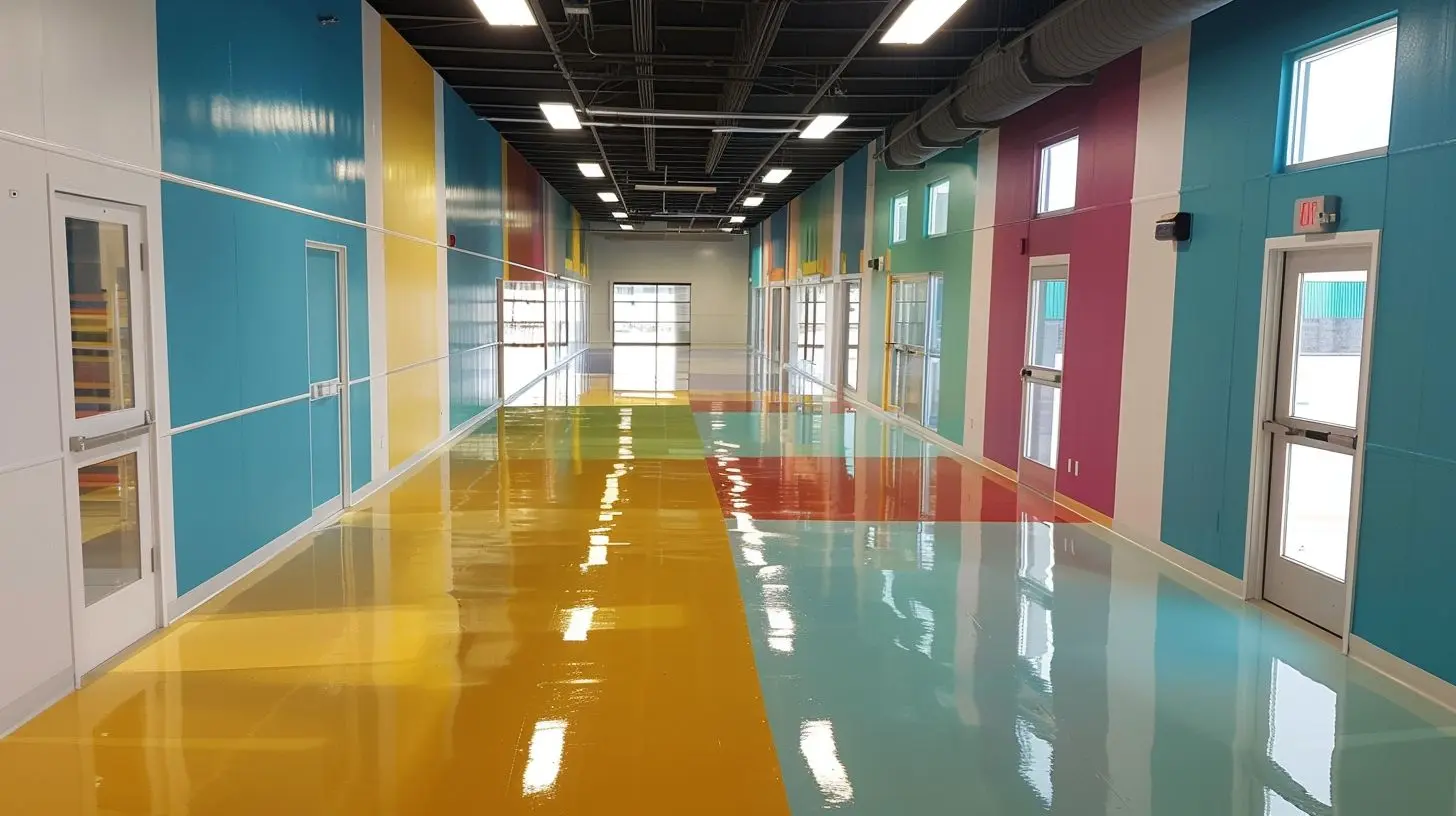
Apply Final Coat
After reviewing the surface for issues like cracks and holes, you can now administer the final coat. Make sure to mix only one bucket at a time due to the epoxy floor coating’s short pot life.
Whether you live in San Diego or even a small apartment in Denver, you can handle this yourself. The end result is a clean and bright flooring that is ready for any kind of use. It can take a few days to do the whole epoxy coating process on your own. Hire us as your epoxy flooring professional help if you want the process to be done quickly!
We hope you enjoyed this Epoxy Flooring Installation Guide and got lots of gold nuggets from it.
Contact Extreme Epoxy Coating for the very best service and prices today for your job at 559-213-4731.


Doing 100 square feet to start and don’t know the ratio. Please advise.
Can you recommend anyone in Hawaii?
Can you recommend anyone in central California
Contact us!